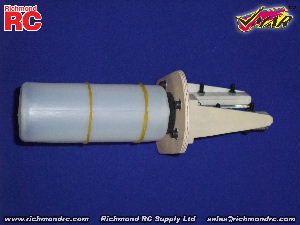
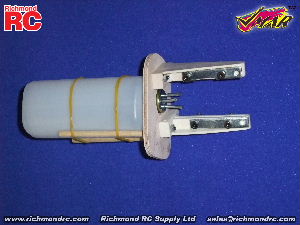
After installing the engine mount T-beams and securing the nuts and bolts please review Step 14 in the Assembly and Operations Manual. Prepare your fuel tank per Step 14 and the associated pictures.
From the back of the firewall, insert the two 7/32 x 3.5 inch dowels into the 7/32 dowel holes drilled using Template A. If you are using 1/4 in. dowels, redrill the holes to 1/4" inside diameter. Insert the dowels only to the point where their forward ends are flush with the forward face of the firewall. You may wish to tap the dowels into the holes using a small hammer. Carefully study the tank tubes and alignment before proceeding. Make sure you know which tube is for what and which way around the tank is. Using Pacer Dap-A-Goo, glue the tank to the dowels and seal both sides of the tank black rubber gasket and tank neck and metal safety ring into place in the firewall center hole. Protect the tubes with tape while sealing. Hold the tank in place with masking tape until the sealant cures. Wick Pacer ZAP-A-GAP CA+ into the dowel holes from the front side of the firewall.
Set aside and let all adhesives and sealants cure.
 |
 |
|
Fuel Tank Installed - Back View
|
Fuel Tank Installed - Front View
|
| 